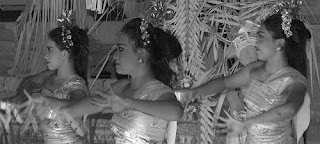
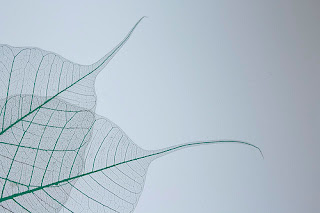
Combining Some Pictures with Adobe Photoshop 7.0
Learning Photoshop is just a click away from your computer. Search "Adobe Photoshop Free Tutorial" and you will find thousands ways to help you start with it.
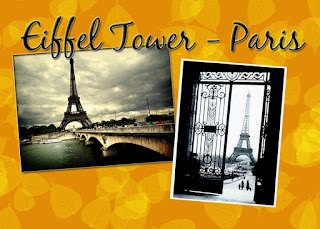
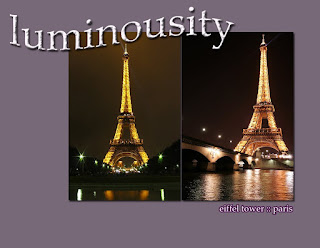
What I did to most of my pictures are combining some pictures into one new picture and working on the layers to add some effects, text and styles. Interested to make one?
The following is the step-by-step to create one of the pictures above. I will try to show you how to make the simple picture. What you need to do later is to try and practice each and every tool provided at Adobe Photoshop 7.0.
- Open Adobe Photoshop.
Create a new file. Choose FILE > NEW. - Set the width into 1200 (pixels) and the height into 800 (pixels); contents: WHITE > OK.
- A new white file is open. You can change the color by clicking the background color (look at the Toolbox on the left) > Select color > click PAINT BUCKET > fill the color to the new white file.
Look at the Layer Palette on the right of working area. This new file is called background. - Open some pictures. Choose FILE > OPEN > browse your picture.
- Resize your image. IMAGE > IMAGE SIZE > set the width into 300 pixels, height into 400 pixels. Check the constrain proportion box. > OK
- SELECT ALL the picture (ctrl + A) COPY the picture (ctrl + C) > PASTE it into the new file (ctrl + V). Look at the Layer Palette, this picture is called Layer 1.
- Apply style. LAYER > LAYER STYLE > choose any style you like.
- For more pictures, repeat no. 5-8.
- Apply text. T (look at the Toolbox) > choose any font, color, size you like. The text is called Layer 2.
- Arrange all the pictures and the text as you wish. First go to the layer palette and click the layer you will work on it.
- You can rotate the picture, EDIT > TRANSFORM > ROTATE.
- The last thing before you save your project is to merge all the layers into one layer. LAYER > MERGE VISIBLE
- Then, SAVE your project.
Next, instead of making a plain new file, we can also use another picture and use it as the background.
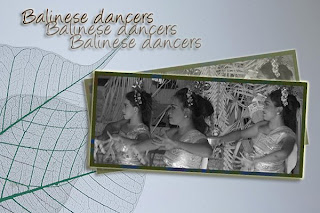
The picture above is created by combining these two pictures below:
